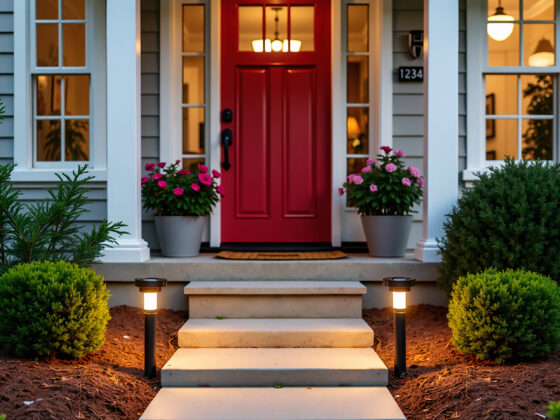
Your mailbox is more than just a place for bills and flyers — it’s one of the first things people see when they approach your home. A thoughtfully chosen and well-installed mailbox can instantly upgrade your curb appeal and reflect your personal style. Whether sleek and modern or bold and unique, installing a new mailbox is a simple weekend project that makes a big visual impact.
Here’s how to choose, install, and personalize a modern mailbox that adds character to your home.
1. Choose a Mailbox Style That Matches Your Home
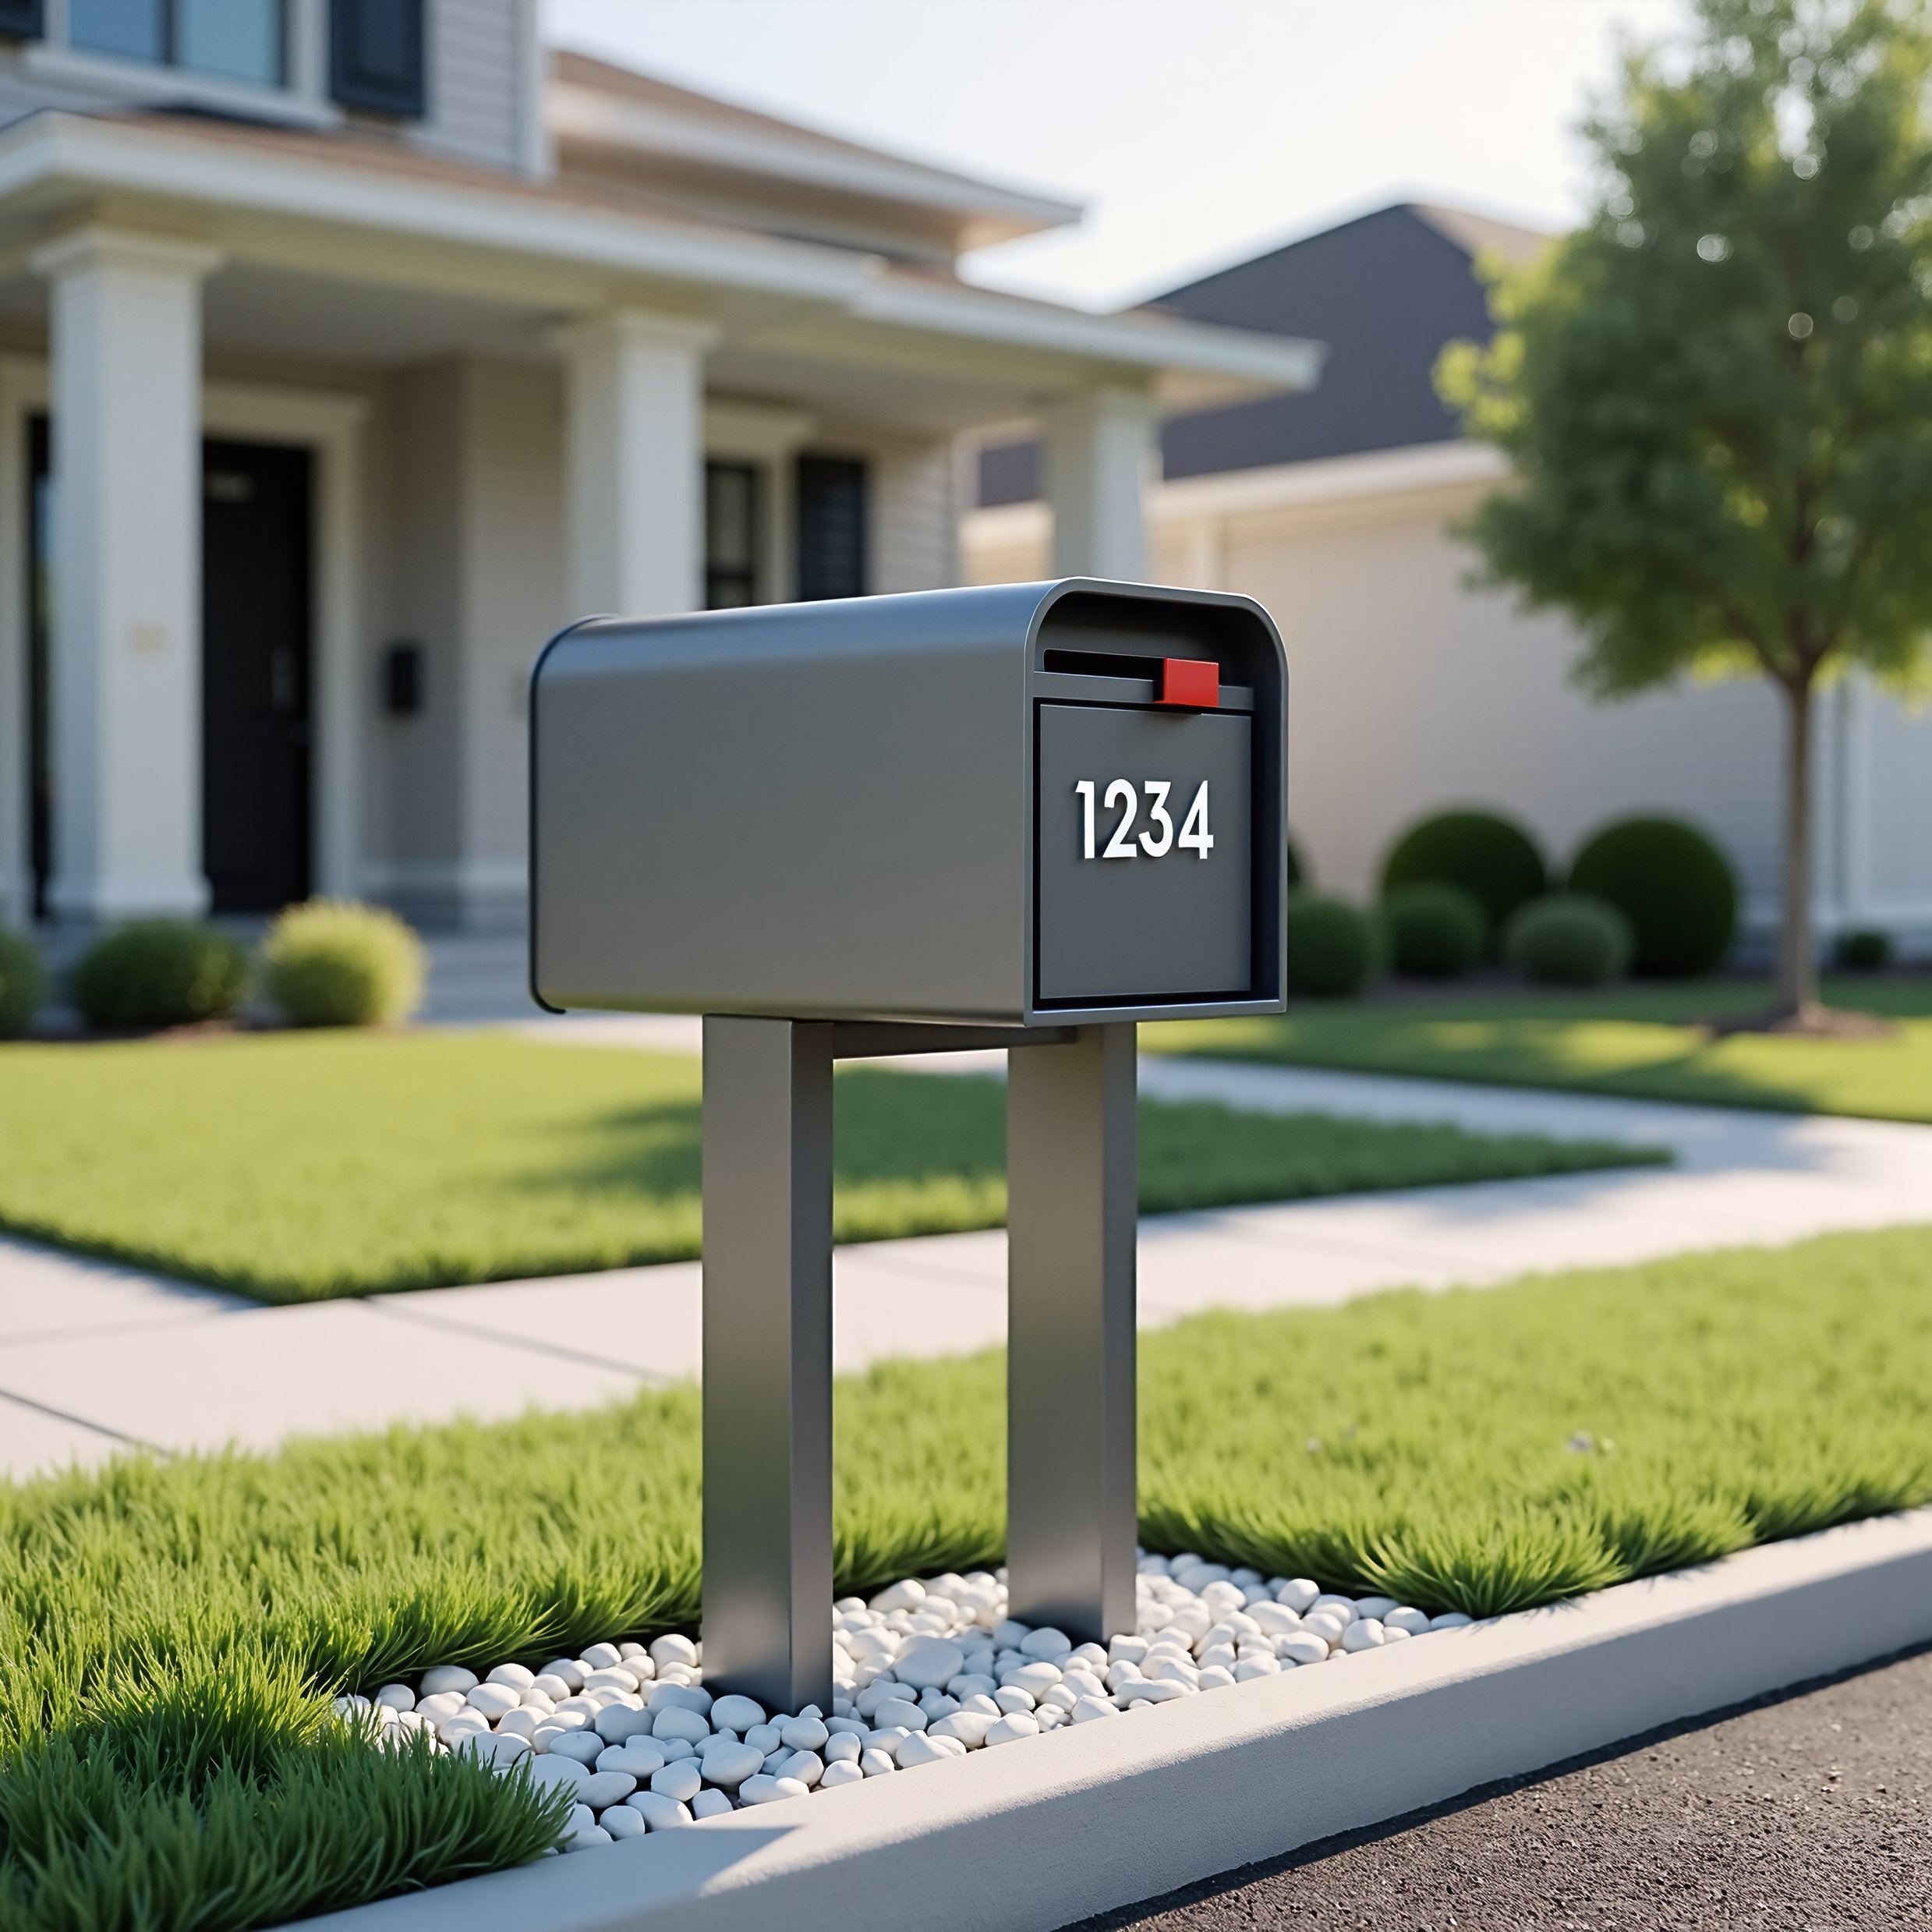
Modern mailboxes come in a variety of styles, from clean-lined stainless steel to mid-century-inspired designs with pops of color. When selecting a mailbox, consider the overall style of your home — is it contemporary, rustic, farmhouse, or traditional? Your mailbox should complement the architecture and landscaping around it.
Popular modern styles include:
- Wall-mounted mailboxes for homes without a front yard
- Post-mounted boxes with geometric shapes or matte finishes
- Column-integrated mailboxes made from stone, wood, or concrete for a sleek, built-in look
2. Pick the Right Location
The USPS has guidelines for mailbox placement:
- Post-mounted mailboxes should be 41–45 inches above the road surface and 6–8 inches back from the curb.
- Wall-mounted mailboxes should be easily accessible for both homeowners and mail carriers.
Make sure the spot you choose is highly visible and accessible year-round — even in snow or rain. For a bold look, consider placing your mailbox near a small flower bed or along a clean gravel border for added emphasis.
3. Gather Your Materials
For a post-mounted mailbox, you’ll typically need:
- A mailbox and mounting bracket
- A treated wood or metal post (usually 4×4 inches)
- Quick-set concrete or gravel (if installing in soil)
- A level, tape measure, shovel, and screwdriver/drill
4. Install the Mailbox
Step 1: Dig a Hole
Dig a hole about 2 feet deep for the mailbox post. Make sure it’s wide enough to support the post firmly.
Step 2: Set the Post
Place the post in the hole, making sure it’s level. Add quick-set concrete or gravel around the base for stability. Allow it to set according to package instructions.
Step 3: Attach the Mailbox
Once the post is set and secure, use screws or a mounting bracket to attach the mailbox. Double-check that it’s level and centered.
Step 4: Add Finishing Touches
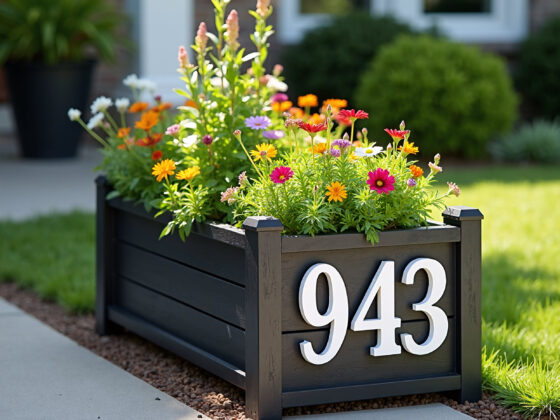
Use landscaping rocks, mulch, or small flowers around the base to enhance the look. This is also a great opportunity to personalize with your house number or a custom plaque.
5. Add Personality with Custom Features
- Color: Paint your mailbox in a color that complements your front door or trim.
- Numbers: Use bold, modern house numbers or decals for extra flair.
- Lighting: Install a small solar light to keep the mailbox visible at night.
- Planters: Add a matching planter box or surrounding greenery for a pop of life.
Final Thoughts
Replacing your old mailbox with a modern, personalized option is a small change that makes a big statement. It’s functional, stylish, and a great introduction to your home’s character. With just a few materials and a bit of effort, you can create a front yard focal point that stands out for all the right reasons.