If you’re selling your home without a real estate agent, great photos are one of the most powerful tools you have. In today’s digital-first market, potential buyers are scrolling through listings on their phones and laptops—and if your photos don’t catch their eye in the first few seconds, they’ll move on.
Professional-looking photos can make your home stand out, drive more interest, and even increase your final sale price. The good news? You don’t need to hire a pro to get great results—you just need to follow a few smart strategies.
Why Good Photos Matter
- First impressions happen online. Your home’s photos are often the first (and only) chance to make someone want to see it in person.
- Listings with high-quality images get more clicks and more showings.
- Great photography highlights your home’s best features and can make a space feel larger, brighter, and more inviting.
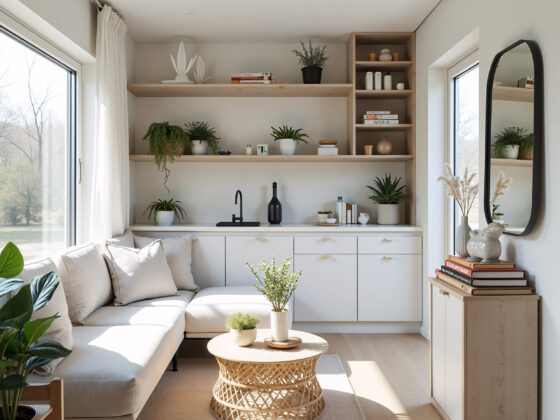
1. Prepare Your Home Like It’s a Showroom
Clean and declutter every room before taking photos. Less is more—remove personal items, clear countertops, and tuck away anything that distracts from the space. Open all curtains and blinds to let in natural light. A clean, neutral backdrop allows buyers to picture themselves living there.
Quick Tips:
- Make the beds, fluff pillows, and straighten rugs.
- Hide cords, remotes, pet items, and toiletries.
- Turn off ceiling fans and TVs.
2. Use Natural Light Whenever Possible
Shoot during the day when your home is brightest—usually mid-morning or early afternoon. Turn on all interior lights to eliminate shadows. Avoid using flash, which can create harsh reflections and color distortions.
Pro Tip: Cloudy days can be better than bright sun—soft, even lighting is ideal.
3. Use the Right Equipment (Even if It’s Your Smartphone)
You don’t need a fancy camera. Today’s smartphones are capable of taking high-resolution images—but make sure your lens is clean, your phone is stable, and you shoot in landscape (horizontal) mode.
If possible, invest in or borrow a:
- Tripod (for stability and consistency)
- Wide-angle lens attachment (to better capture room size)
- Photo editing app (like Snapseed or Lightroom) for minor adjustments
4. Choose the Best Angles
Stand in the corner of each room to show the most space. Shoot from chest height—around 4 to 5 feet off the ground—and avoid tilting the camera.
Capture:
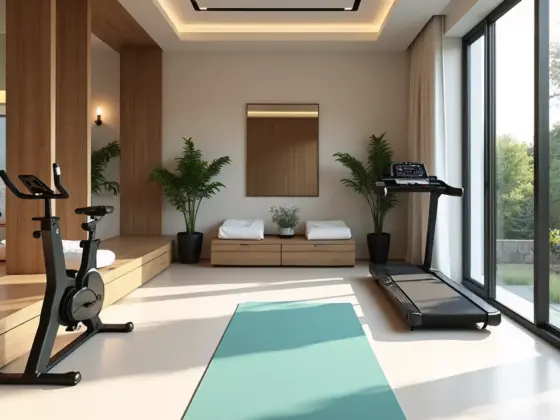
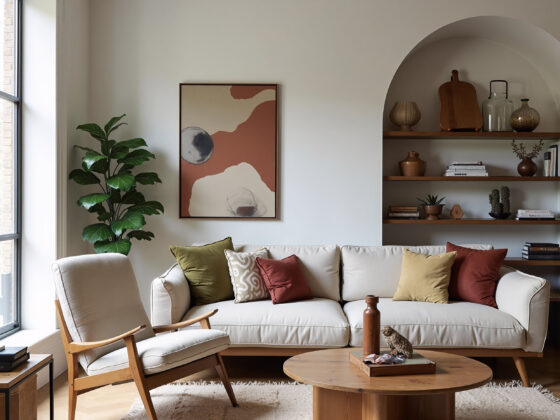
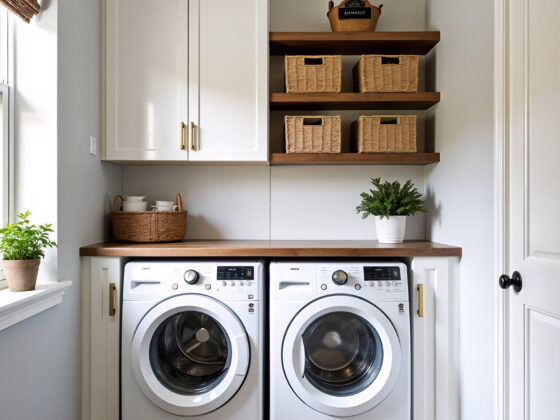
- Every major room (living room, kitchen, dining, bedrooms, bathrooms)
- Special features (fireplaces, built-ins, walk-in closets)
- Exterior shots (front and back yards, garage, patios)
- Entryway and overall curb appeal
5. Edit Thoughtfully
Editing is about enhancing what’s already there—not deceiving buyers. Adjust brightness, contrast, and sharpness slightly to reflect what the eye sees in person.
Don’t:
- Use heavy filters
- Photoshop out permanent flaws
- Alter colors dramatically
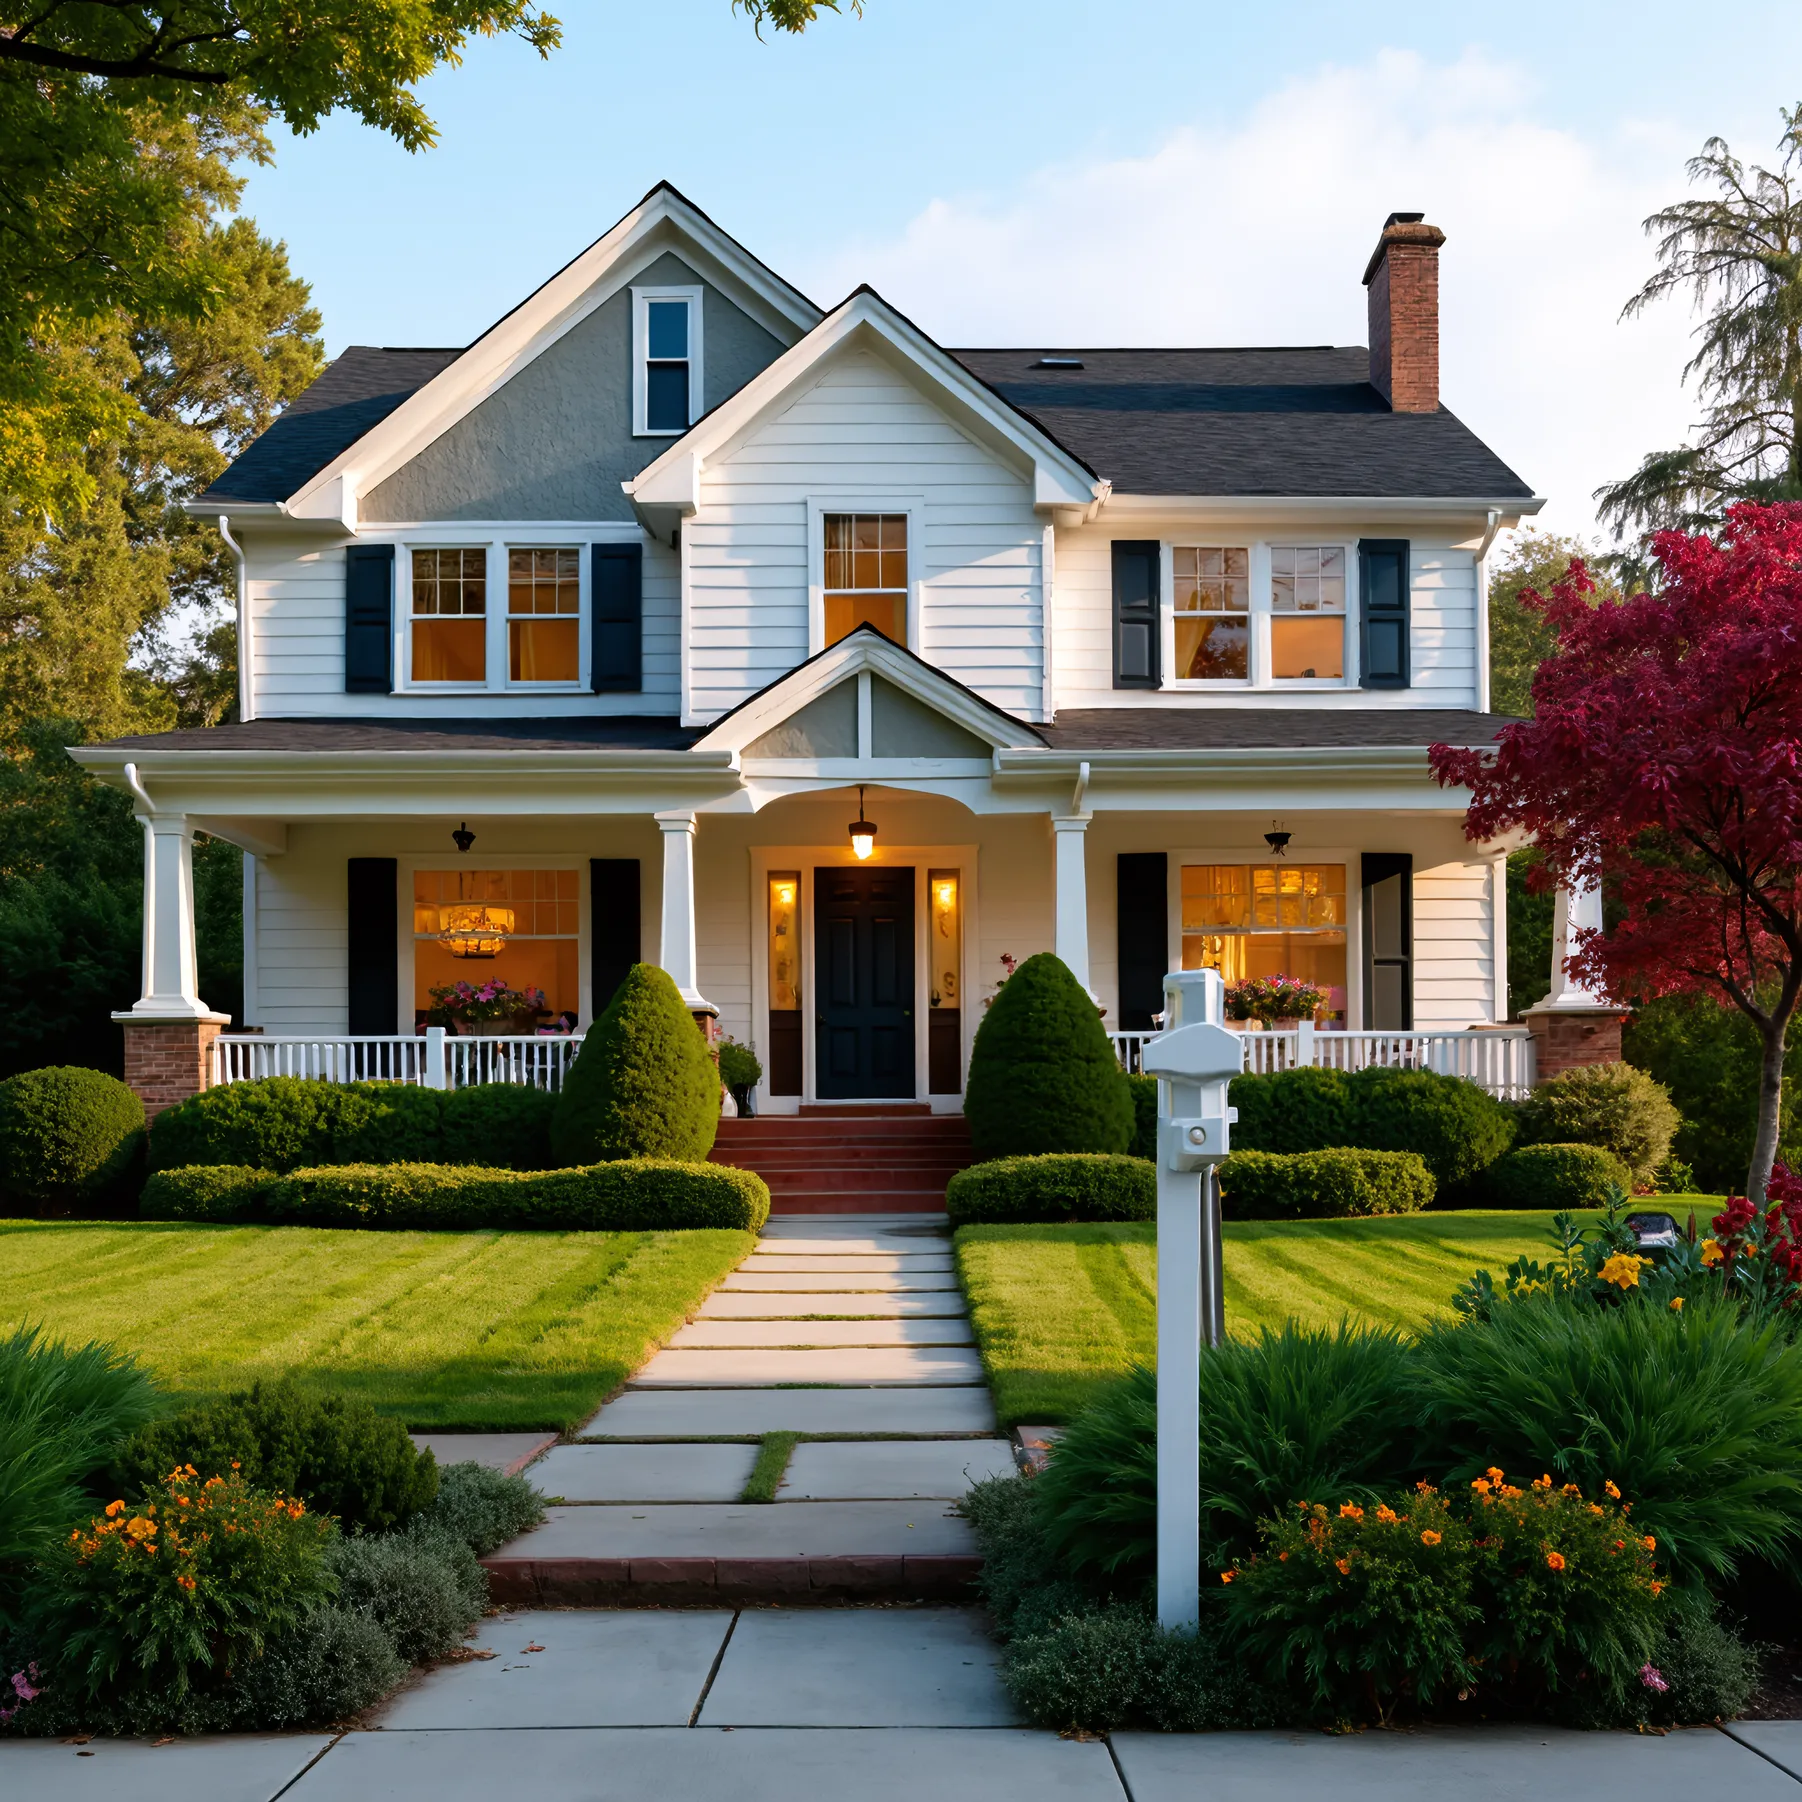
6. Highlight Curb Appeal
Your exterior shot is your listing’s lead image—make it count. Mow the lawn, sweep the porch, and remove cars from the driveway. Consider photographing in the early evening (“golden hour”) for soft, warm lighting that flatters your home.
7. Show the Flow of the Home
Include enough photos to give buyers a sense of the layout. Ideally, upload 20–30 clear, well-composed images. Group photos in order that a buyer would walk through the home.
8. Avoid Common Mistakes
- Blurry or crooked photos
- Vertical phone shots
- Too few images
- Dark rooms with poor lighting
- Overly edited or misleading visuals
Final Thoughts
You don’t have to be a pro to create an eye-catching real estate listing. With the right prep, lighting, and composition, your photos can make your FSBO home stand out from the crowd—and bring the right buyers through the door.
A few hours of effort now can lead to faster offers and a better sale price. That’s picture-perfect success.